
Bunting has been a huge party trend in the past couple of years. It’s fun and festive and can really add some color to an event. It can be made of paper but using fabric for it really makes it seem a lot nicer.
I mentioned that I made the bunting for my baby shower, so here’s a step by step to creating this fun and easy party decoration.
STEP 1: CHOOSE YOUR FABRICS

I used quilting squares because it was easier to carry them around while matching up patterns. Also I didn’t need that much fabric so these were perfect. Sometimes you can even find them pre-packaged in matching patterns if you’re nervous about what might “work” together.
STEP 2: MAKE A TEMPLATE

Figure out how large you want your pennants to be, mine were 8 inches long and 6 inches wide. Play around with different sizes to see what works for you. Then cut your template out of cardstock or a thin piece of cardboard. I also suggest getting a rolling cutter, self healing cutting board and a metal or thick plastic ruler (so you don’t have to cut all the angles by hand).
STEP 3: MARK IT UP

I didn’t really trust myself to cut straight from the template so I traced it onto the back of the fabric. You’ll see I used a Sharpie but you can buy fabric markers that make less of a mark or chalk – I didn’t because no one was going to be that close to them and I didn’t have either of the other two options.
Then cut them all out.
STEP 4: FINISH EDGES

Since these were only for a party I didn’t take the time to properly finish the edges. But here are three options for finishing them:
NO-Sew: Use Fray-Check along the edges to keep them from fraying when moving and arranging the bunting.
Quick & Dirty: Use a zig-zag stitch to stop fraying edges (this is what I did) – again this is fine if you’re not really going to use it for an extended period of time.
Finished Edges: For longer term use I recommend adding a half inch to the long sides of your template which you can fold under and press and then finish with a straight stitch (you don’t need to do this for the top of the pennants regardless of which way you finish the edge). I did this method for the bunting I used in our nursery.
STEP 5: STRING THE PENNANTS
Save yourself the trouble of doing this any other way by buying Bias Tape (my photo shows Single Fold but buy the DOUBLE fold kind).

The Double-Fold Bias Tape has a “pocket” that you can slide the short edge of the pennants into, then all you have to do is pin your pennants however far apart you’d like then sew them into place with a straight stitch.

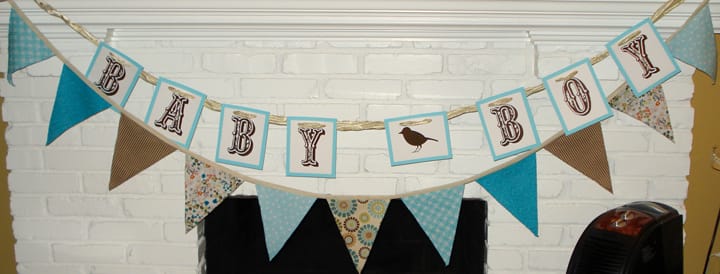
FINISHED PRODUCT
It’s fun and festive and totally reuseable.


No Comments