
I have had this image pinned for a while…
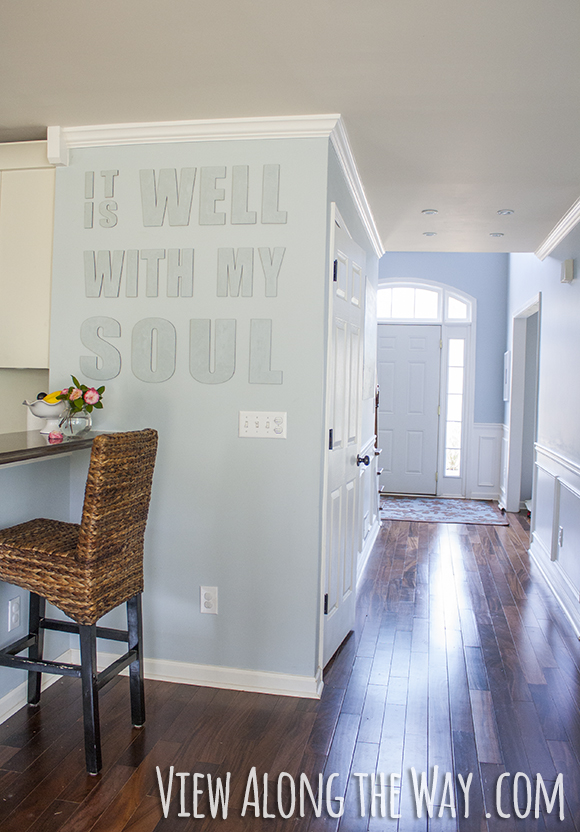
I love these canvas letters from 163 Designs and the way Kelly from View Along the Way painted them to make create a monochromatic look. I thought it might be a fun thing to do either for our master bedroom or our boys bathroom. But since I want to make our master bedroom update take as long as humanly possible I opted to create something for the boys bathroom (see? that’s sarcasm there).
Of course I couldn’t just purchase the canvas letters or even spend $3/a piece at a craft store for them. Oh no, not me, because I had the worst thought you can ever have when you have small children and limited free time (and sanity)…I thought to myself, “I can MAKE that!”
So make them I did.
I decided the best thing would be to make them out of foamcore since 1) I had it and 2) it involved no powertools.
On a side note: Don’t you just hate it when you pin something like “DIY blah blah blah” but then you come to find out that it was DIYed by someone who has a master carpenter/electrician and a shed full of tools at their disposal? When I see DIY instructions – I want it to be something that I can ACTUALLY DO!
So here it is…a DIY that is actually DIY-able.
This is actually a GREAT option if you live in a small space because you can do the entire thing in one room making a minimal mess.
Supplies:
 Insulation Foam (or regular foam core but you’ll have to double it up), An Exacto knife, A printer, Straight pins (the ones you’d use for sewing), Painters Tape, A hammer, Fine sandpaper, Paint (Latex or craft paint)

This is insulation foam.

It’s awesome stuff. It’s around $10 for a 4ft by 8ft sheet. It’s about 1/2 and inch thick so it’s pretty sturdy. We use it at our church to make all kinds of things, like props for Vacation Bible School or even gigantic presents.

Yeah, that’s a 4 foot box covered entirely in glitter…I was in heaven.
Obviously it’s huge so if you don’t have a large vehicle you’ll have to cut it down. I actually have the intention of doing something on a much larger scale in the future so that’s why I chose this. If you wanted to use regular foam core you could probably just spray mount a couple pieces together to make it thicker.

Next print your design TWICE (trust me on this). I just “tiled” it when I printed then taped the pages together. Hang one where you want to place your artwork, tape the other to your foam core (I actually taped all around the edges to keep it from moving).
You don’t want to do anything too intricate because it will make it more difficult to cut out cleanly. I used Bebas Neue for my font (it’s FREE).

NOTE: There is a “front” and a “back” side to this stuff. One side has no writing so it would probably be easier to cover without that. ALSO it has a sheet of plastic covering both sides of it, YOU MUST PEEL THAT OFF (otherwise your paint won’t stick).

Trace your design with an exacto knife. You DON’T have to cut all the way through. Just through your paper and the first layer of your foam. Use a ruler if you think you need one but it’s pretty easy to freehand. One you’ve “traced” your design, remove the paper and cut out your design. If you end up with any rough edges just sand them lightly with some fine sandpaper.

Use your straight pins on the BACKS of your letters to prop them up while you’re painting (and keep them from sticking to everything below them).

Then paint your letters. You can use craft paint or house paint just DON’T use spraypaint because it will eat your letters and then you will be sad. I did about 3 coats of the wall color from the boy’s bathroom.

I used straight pins to attach my letters to our drywall. I suppose you could use mounting strips or command strips if you have brick walls. I was afraid of tearing up our drywall and straight pins make tiny holes.
Just push your pins through the front of your letters (mine stuck out about 1/2 inch in the back). Then all you have to do is line them up on your sheet you hung (like puzzle pieces). Push them into the wall enough to leave a dent where your pin goes.

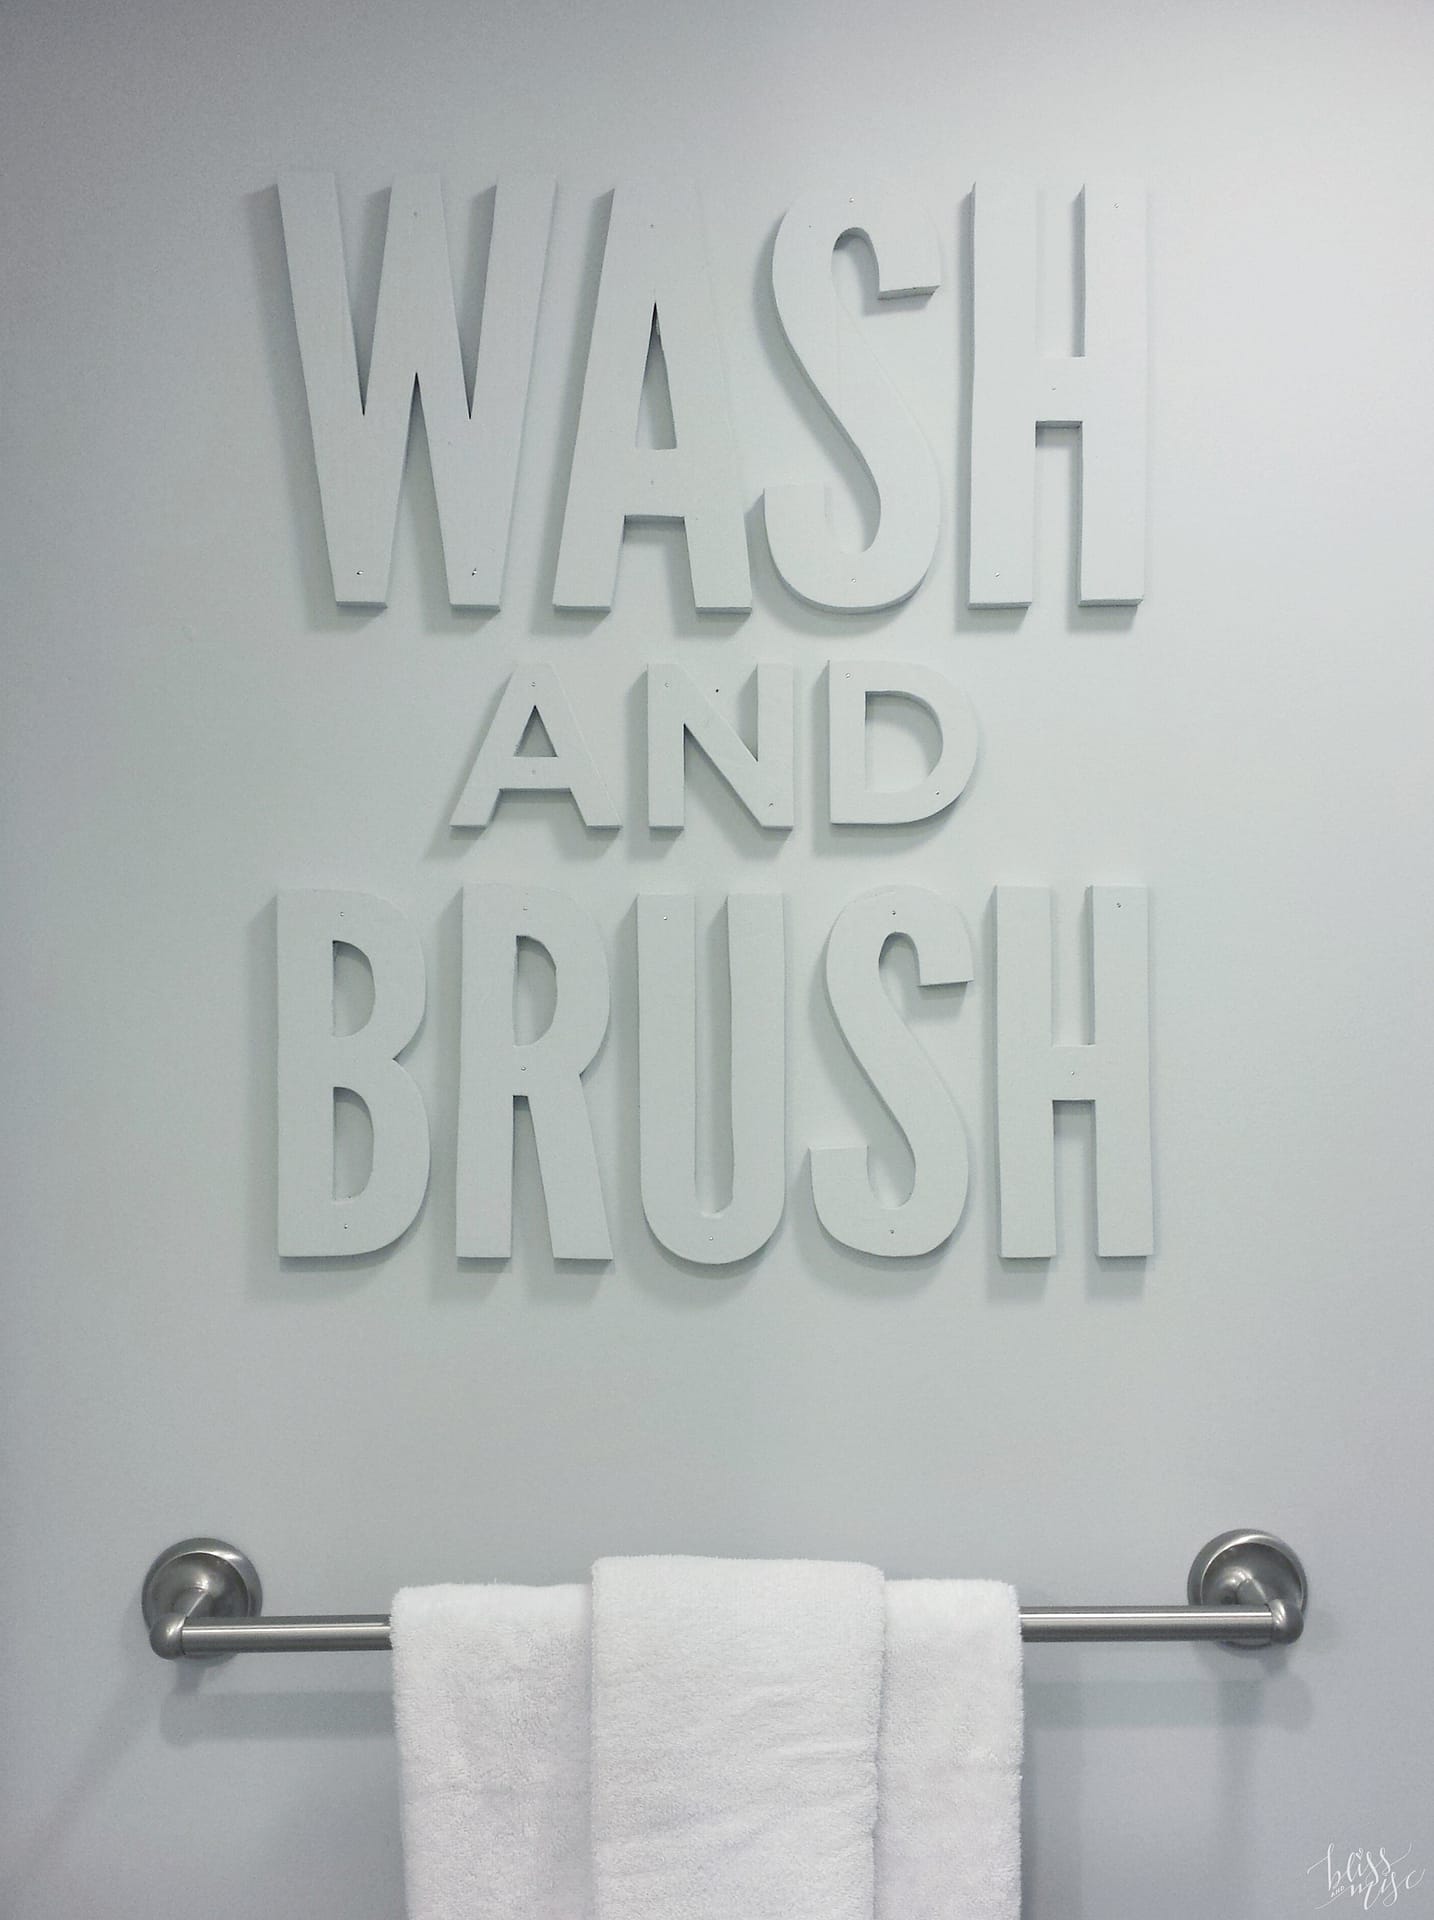
Then just remove your letters and the paper and match up your pin holes. Tap the pins in lightly with a hammer, then stand back and admire your work (sorry there’s not better lighting, it’s on the far wall of their windowless bathroom).
 I love how it turned out!

From the hallway.

For the price and the simplicity I’m really quite pleased with it. I think this would be really cool on a large scale (like 4 ft tall letters)…I have a lot left over so we’ll see!


2 Comments
Mom
March 31, 2014 at 10:15 pmSpectacular, as always!
Anne
May 28, 2014 at 1:42 pmLove this!!