Remember that awesome font from last week? Well I’ve put it to good use.
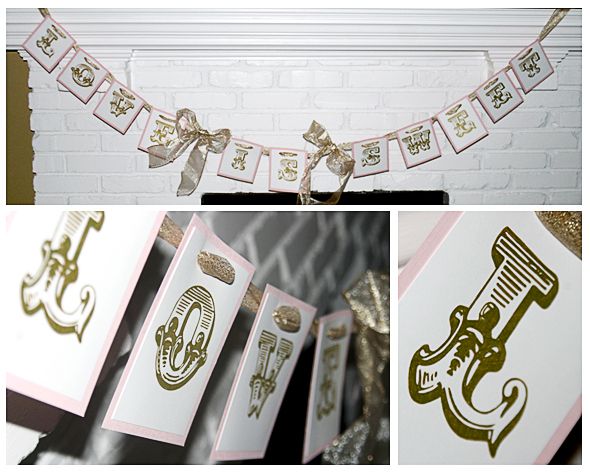
This is a pretty basic DIY but it’s a cute idea to add some personalized signage to an event. These would be great for birthday parties, weddings and baby showers. I used ours for a candy buffet but think it would be sweet with the couple’s names or to attach their car.
STEP 1
Pick an ornate font. Usually searching for “Western” fonts work best. There are some fabulous ones here.

STEP 2
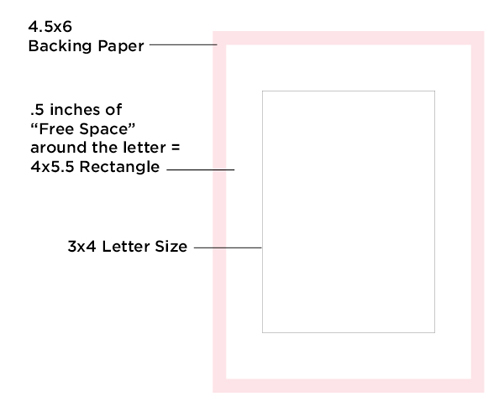
Figure out the size you want your sign to be. If you’re using a backing paper figure out how big you want the finished product to be. Mine were 5×6 so my letters were sized so they fit on 4.5×5.5 cards – the actual letters will be much smaller than your finished size. You MUST make sure to leave some space so you have room to hole punch them later otherwise your ribbon will overlap your letters.
STEP 3
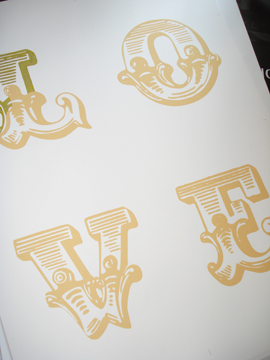
Print out in the color of metallic ink that you’re going to use (4 to a page worked for me and I picked a goldish/yellow color).
STEP 4
Muster up your patience and fill in all the spaces of the letter with a metallic ink pen. I think the “gel” pens work better than a marker because the ink will sit on top of the page instead of bleeding. But be careful to let it dry completely as it’s easy to smudge your letters if they’re not totally dry!

Once you’re done just trim them to the right size, add the backing paper, hole-punch and add a ribbon!


1 Comment
Fonts: Romantiques | Bliss & Miscellaneous
February 15, 2011 at 8:17 pm[…] is the font I used for my DIY Sign project. I love it’s old time feel and ornateness. However to really take advantage of the […]